Documentation Index
Fetch the complete documentation index at: https://claworc.com/docs/llms.txt
Use this file to discover all available pages before exploring further.
Overview
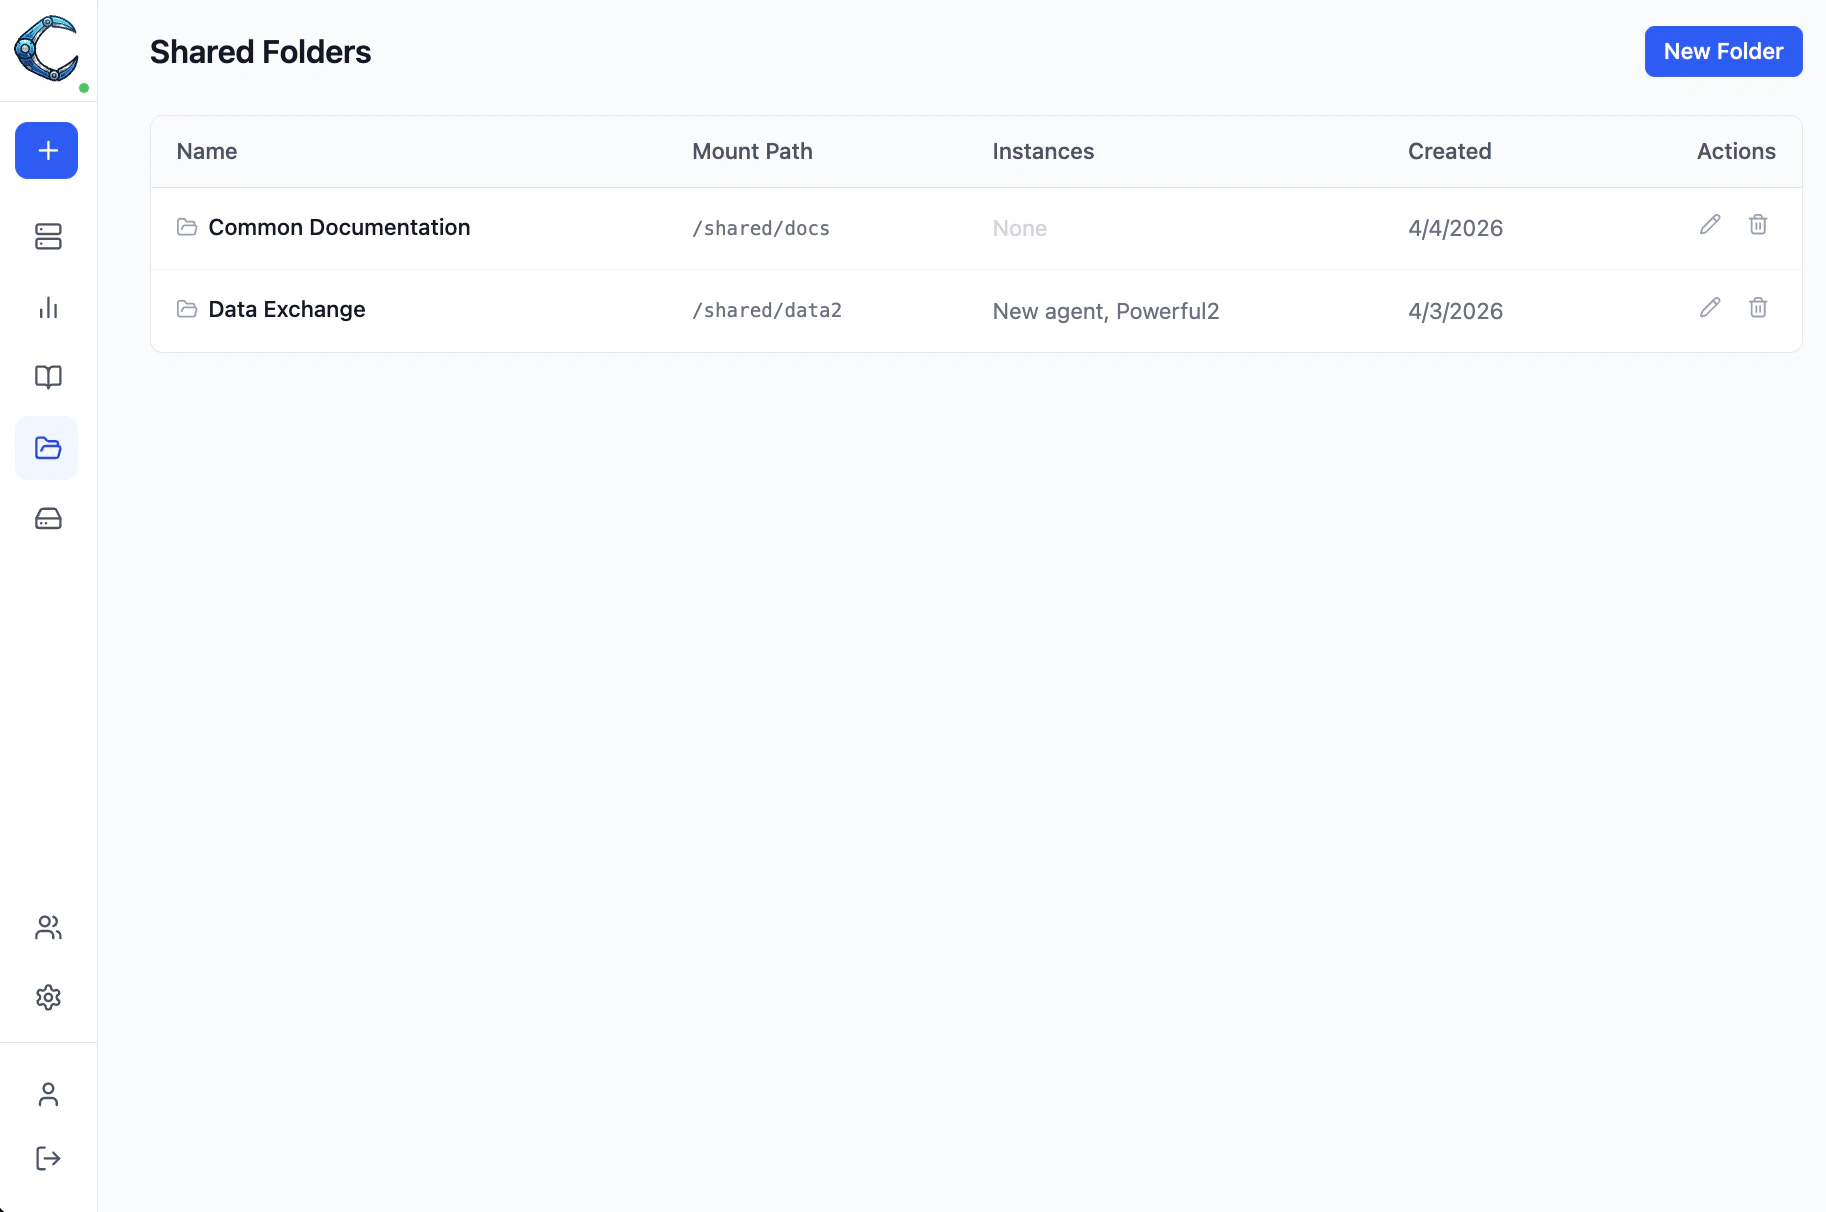
Creating a shared folder
- Open Shared Folders in the sidebar.
- Click New Folder.
- Enter a name (for example, “Research Data”) and a mount path (for example,
/shared/research). - Click Create.
Mount path restrictions
The mount path must start with/ and cannot overlap with these reserved paths:
/home/claworc(instance home directory)/home/linuxbrew(Homebrew installation)/dev/shm(shared memory)
/shared/<name> or /data/<name>.
Each shared folder must have a unique mount path. Two folders cannot share the
same path, even if they are mapped to different instances. This prevents mount
conflicts when multiple folders are later assigned to the same instance.
Mapping instances
- Open the shared folder by clicking Edit in the table row.
- Use the instance selector to add or remove instances.
- Click Save.
Deleting a shared folder
Click the delete icon on the folder row and confirm. This removes the database record and restarts any mapped running instances to unmount the volume. The underlying storage volume is not automatically deleted as a safety measure. To reclaim storage, remove orphaned volumes manually:- Docker:
docker volume ls --filter label=type=shared-folder - Kubernetes:
kubectl get pvc -l type=shared-folder -n claworc
Kubernetes considerations
Shared folder volumes use theReadWriteMany (RWX) access mode, which requires a storage class
that supports it (for example, NFS, CephFS, or AWS EFS). If your cluster only provides
ReadWriteOnce storage, two instances cannot mount the same folder simultaneously.