Documentation Index
Fetch the complete documentation index at: https://claworc.com/docs/llms.txt
Use this file to discover all available pages before exploring further.
Overview
Claworc can create compressed snapshots of your OpenClaw instances on demand or on a schedule. Admins can manage backups for every OpenClaw instance. Regular users can create, list, download, and delete backups for their assigned instances. Restoring a backup additionally requires the Can create instances permission, which an admin can grant per user.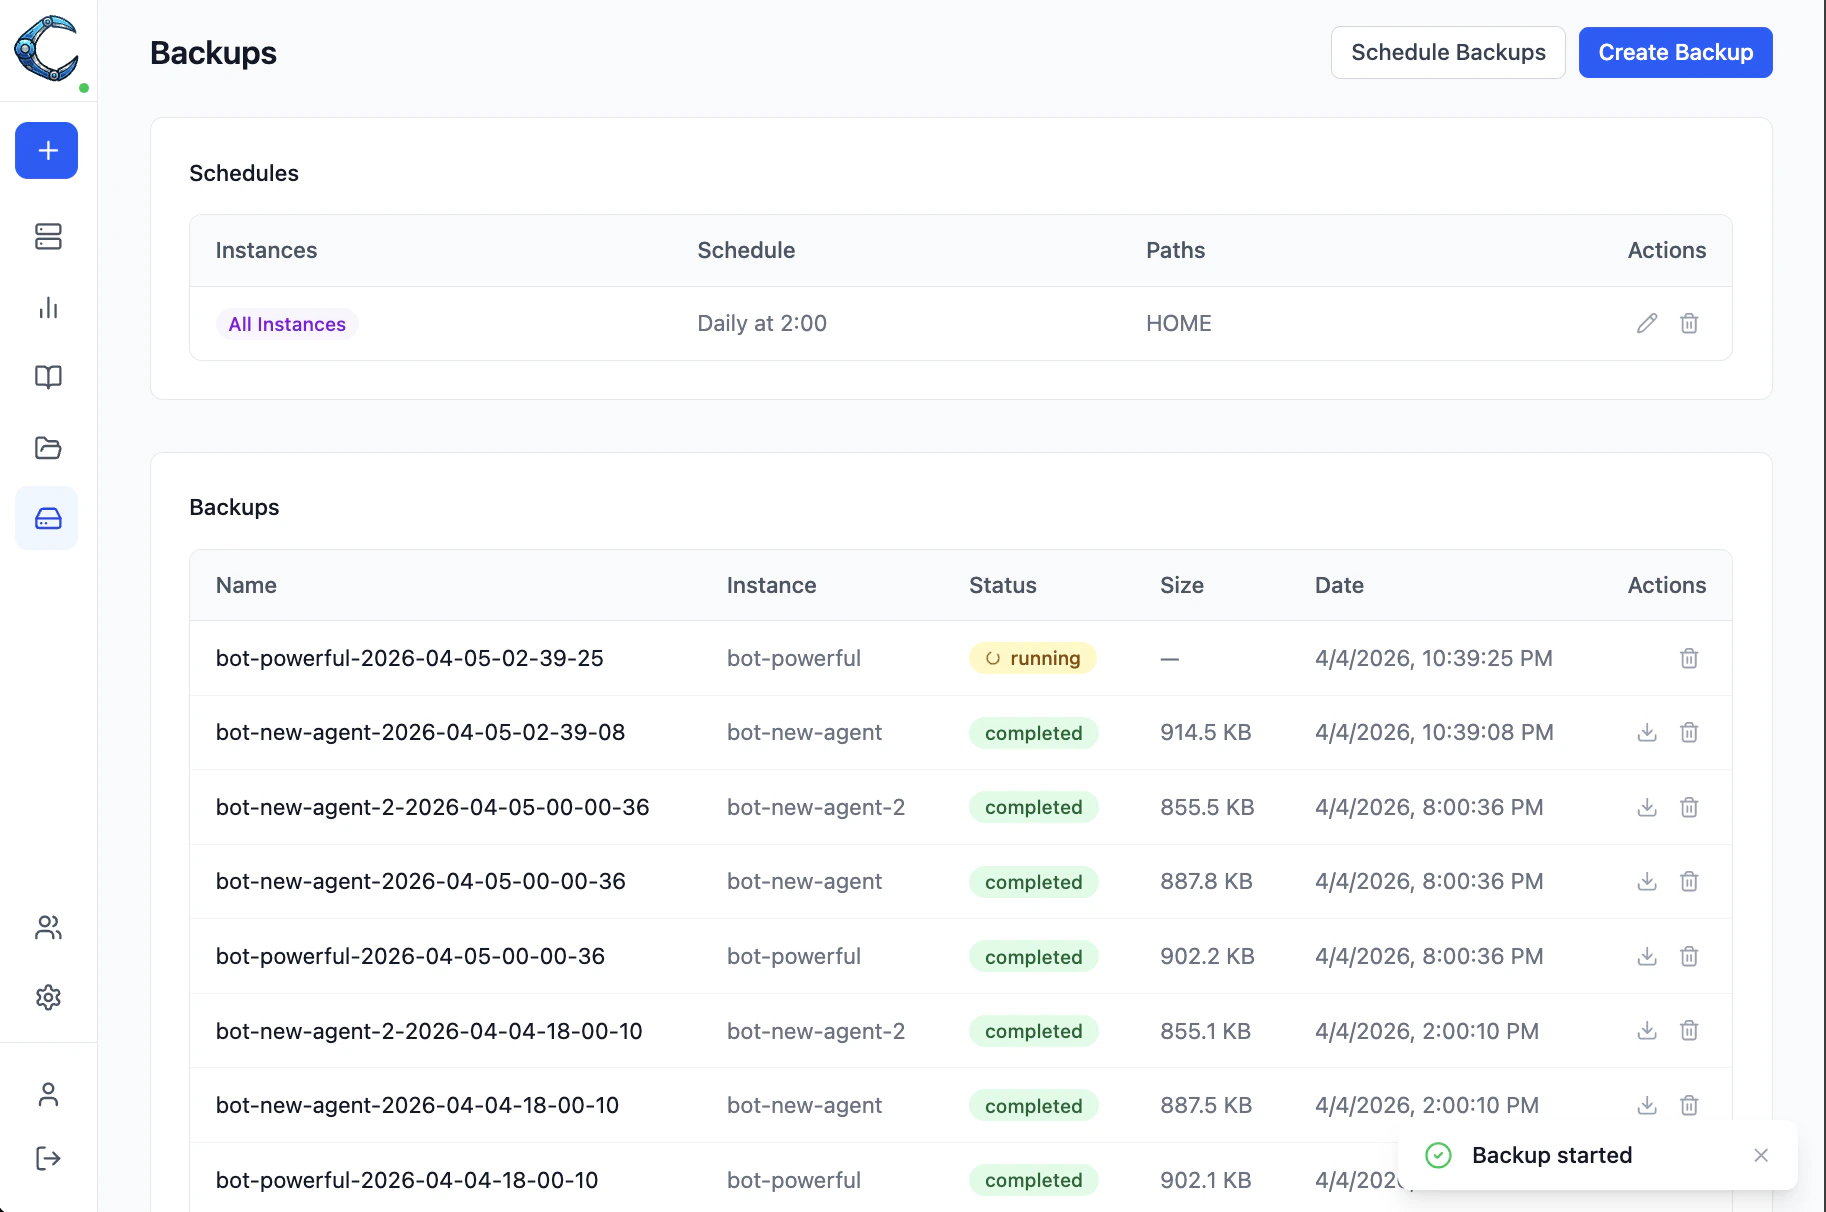
What gets backed up
When creating a backup, you select from path aliases or enter absolute paths:| Alias | Resolves to | Description |
|---|---|---|
HOME | /home/claworc | The agent’s home directory (default) |
Homebrew | /home/linuxbrew/.linuxbrew | Homebrew installation and packages |
/ | / | Full container filesystem (excluding system directories) |
HOME is used by default. You can also enter any absolute path
(for example, /etc/nginx) to include specific directories.
System directories such as /proc, /sys, /dev, /tmp, and /run are always excluded.
Where backups are stored
By default, backup archives are written under<CLAWORC_DATA_PATH>/backups on the
control plane. To direct backups to a different volume — for example, a larger or
cheaper disk — set CLAWORC_BACKUPS_PATH to the desired directory. See
Environment variables for details.
Creating a manual backup
- Open Backups in the sidebar.
- Click Create Backup.
- Select the target instance.
- Choose which folders to include.
- Optionally add a note (for example, “Before upgrading packages”).
- Click Create Backup.
Scheduling backups
Scheduled backups run automatically based on a cron expression.- Open Backups in the sidebar.
- Click Schedule Backups.
- Select one or more instances, or choose All Instances to cover every instance (including any created in the future).
- Pick a cron preset or enter a custom expression.
- Choose which folders to include.
- Click Create Schedule.